The innoGPT user interface
As soon as you have logged in, you will be taken directly to the chat, from where you can access all the platform's important functions.

Section 1 – Your Control Center (top left sidebar)

The top third of the sidebar is your main hub. From here, you can start conversations, search for content, and jump to your workspaces.
New Chat – Start a new conversation with a single click. Your previous chat history is saved and can be accessed later.
Search Chats – Can’t find an old chat? Here, you can search through the titles and content of all previous conversations in a flash.
Notifications – Mentions, completed automations, updates on when an image was generated, and system messages all appear here.
Projects – Group chats, files, and knowledge related to a topic in one place. Perfect when you’re working on a larger project or collaborating with colleagues.
Files – Your central library for all uploaded documents. Upload once, reuse forever.
Assistants – Here you manage your specialized AI helpers for recurring tasks – from copywriters to research pros to invoice generators.
Section 2 – Tools (bottom of the left sidebar)
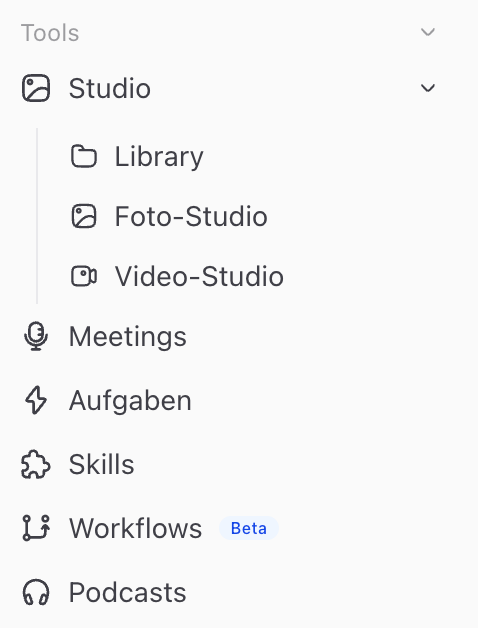
The lower section of the sidebar contains all the productive modules that let you use innoGPT for much more than just classic chatting.
Studio – Your creative hub. Library – Collection of your generated images and assets. Photo Studio – Create, edit, and refine images. Video Studio – AI-powered video creation.
Meetings – Upload recordings or record meetings directly. innoGPT automatically generates summaries, minutes, and to-do lists.
Tasks – Schedule recurring AI jobs, such as a daily news briefing, a weekly competitive analysis, or monthly reports.
Skills – Reusable guides that let you specifically expand chats and assistants with specialized knowledge (e.g., “Write a proposal” or “Prepare a QBR”).
Podcasts – Turn text, research, or entire documents into audio podcast episodes.
If you don’t see some features, check Settings > Roles > 3 dots > Permissions. All features should be set to full access there. It’s also possible that an administrator needs to enable this for your account.
Section 3 – Workspace Menu (top left)

Your personal Workspace menu is hidden behind the "innoGPT" logo in the top left corner. Click the arrow next to it to open it.
Switch Workspaces – If you’re a member of multiple workspaces, you can seamlessly switch between them here.
Settings – Manage your profile, language, theme (Light/Dark Mode), keyboard shortcuts, and enabled tools and connectors.
Contact Support – Direct access to our team if you need help.
Changelog & News – Stay up to date on the features we’ve just rolled out.
Sign Out – Log out securely from innoGPT.
Section 4 – Model Selection (at the top of the chat bar)

Right above the chat, you can choose which AI assists you. innoGPT brings together the world’s best models on a GDPR-compliant platform.
Select language model – Click the dropdown to switch between models like GPT, Claude, Gemini, or others.
GPT Smart Select – Not sure which model is right for you? Smart Select automatically selects the best model for your query.
Select image model – Right next to it, you can set the model for image generation (e.g., DALL·E, Imagen, etc.).
💡Switch in the middle of a chat – You can switch models at any time. Ideal: A powerful model for brainstorming, a fast one for the final summary – Set it manually or simply let GPT Smart Select switch the model.
Area 5 – Chat Window (Bottom Center)

This is where the magic happens – all your inputs start here.
“Just ask” – Type your question, task, or prompt and hit Enter to send it.
Plus icon (+) – Attach files (PDF, Word, Excel, images), activate tools like web search, Canvas, or data analysis, and enable connectors like SharePoint, OneDrive, or Outlook for the chat.
Microphone icon – Dictate your input using voice – handy for long prompts or when you’re on the go.
Send arrow – Appears as soon as you enter text and sends your message.
Prompt Optimization – When enabled, you can automatically improve your prompt with a single click.
🚀 Tips for getting started
Start with GPT Smart Select if you’re not ready to choose a model yet.
Enable connectors via the plus icon so that innoGPT can directly access your data in Microsoft 365 or Google Workspace.
Create a dedicated assistant or skill for recurring tasks—this saves a lot of time in the long run.